No matter who is selling you a used car, truck, van, SUV, or collector car, it’s always a good idea to give your potential purchase a thorough examination and, if you can, take it to a mechanic for a complete assessment. They’re called car inspections, but if that’s not possible, there’s still a lot you can surmise from looking things over yourself. With that in mind, here’s a complete guide for car inspections, one that can give you an idea of what to look for when considering a used or collector vehicle, and an overview of how the process should go.
How Long Does a Car Inspection Take?
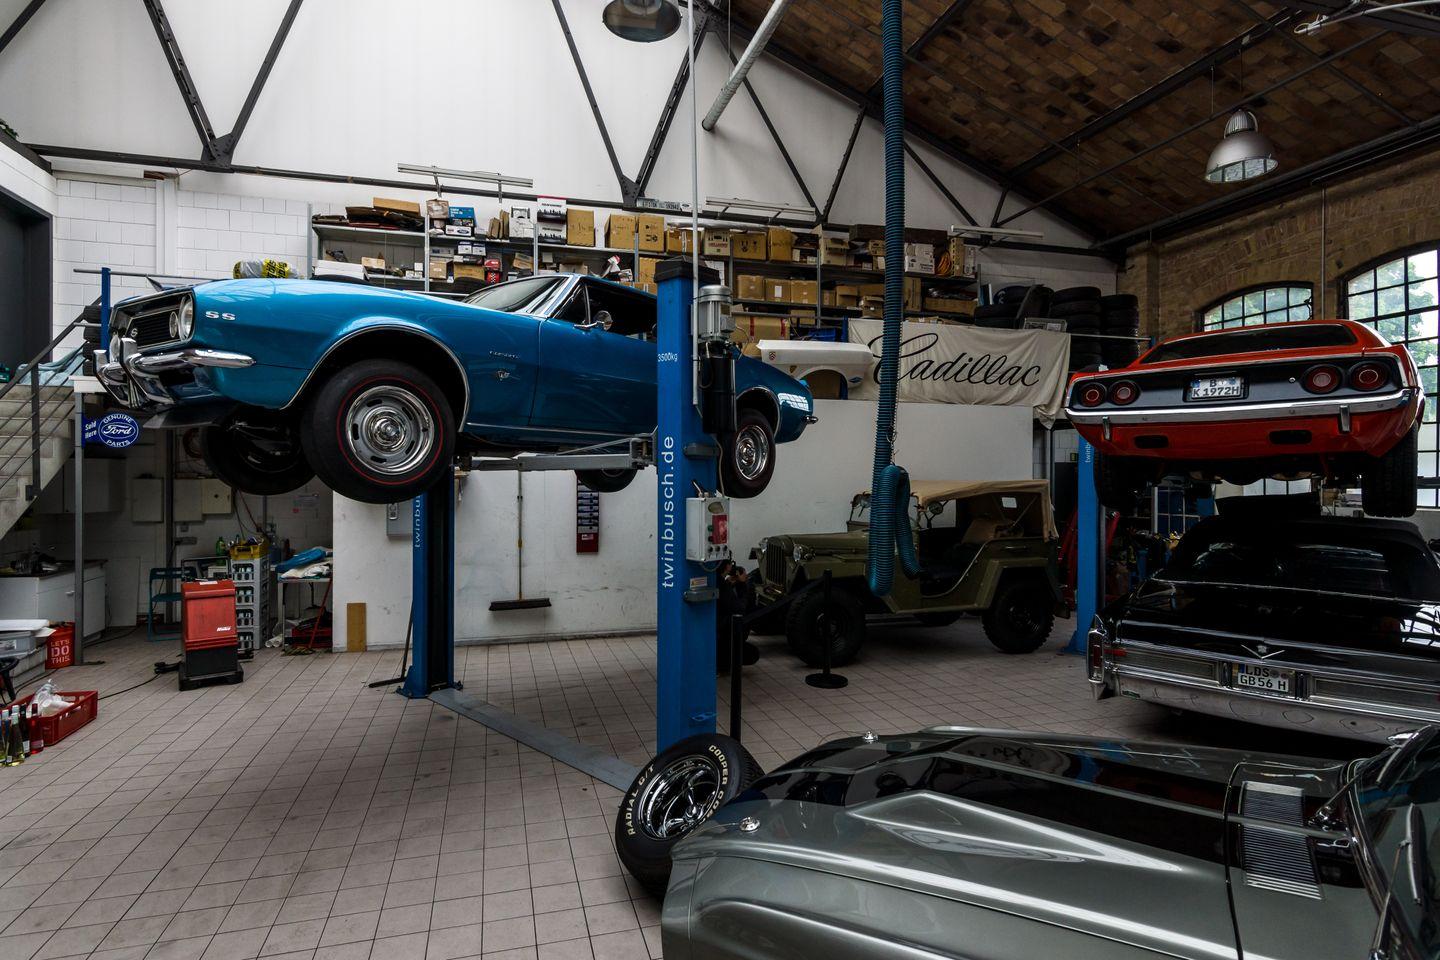
Typically, car inspections can take an hour, sometimes more depending on how many parts of the vehicle are being examined. Keep in mind we are talking about a pre-purchase inspection, and not the type mandated by your state and carried out through either government-operated facilities or independent garages licensed by your state’s Department of Transportation. You’ll find this to be a recurring theme, but the question, “how long does a car inspection take?” can vary substantially between different cars from different makes and different periods.
Dealers will generally allow car inspections by another mechanic as long as you leave some form of identification. It might be more difficult with a private seller. Propose following the seller to the shop where the inspection is taking place.
And, if you have the car’s VIN, you can obtain a CarFax report detailing the car’s history. Be sure to get that before your inspection.
(Since 1954, American automobile manufacturers have been required to use VINs on the vehicles, although the format was not standardized until 1981. Modern vehicles have their VIN number on a metal tag that can be seen through the driver’s side of the windshield in the bottom corner. You’ll also find it on the engine or elsewhere under the hood.)
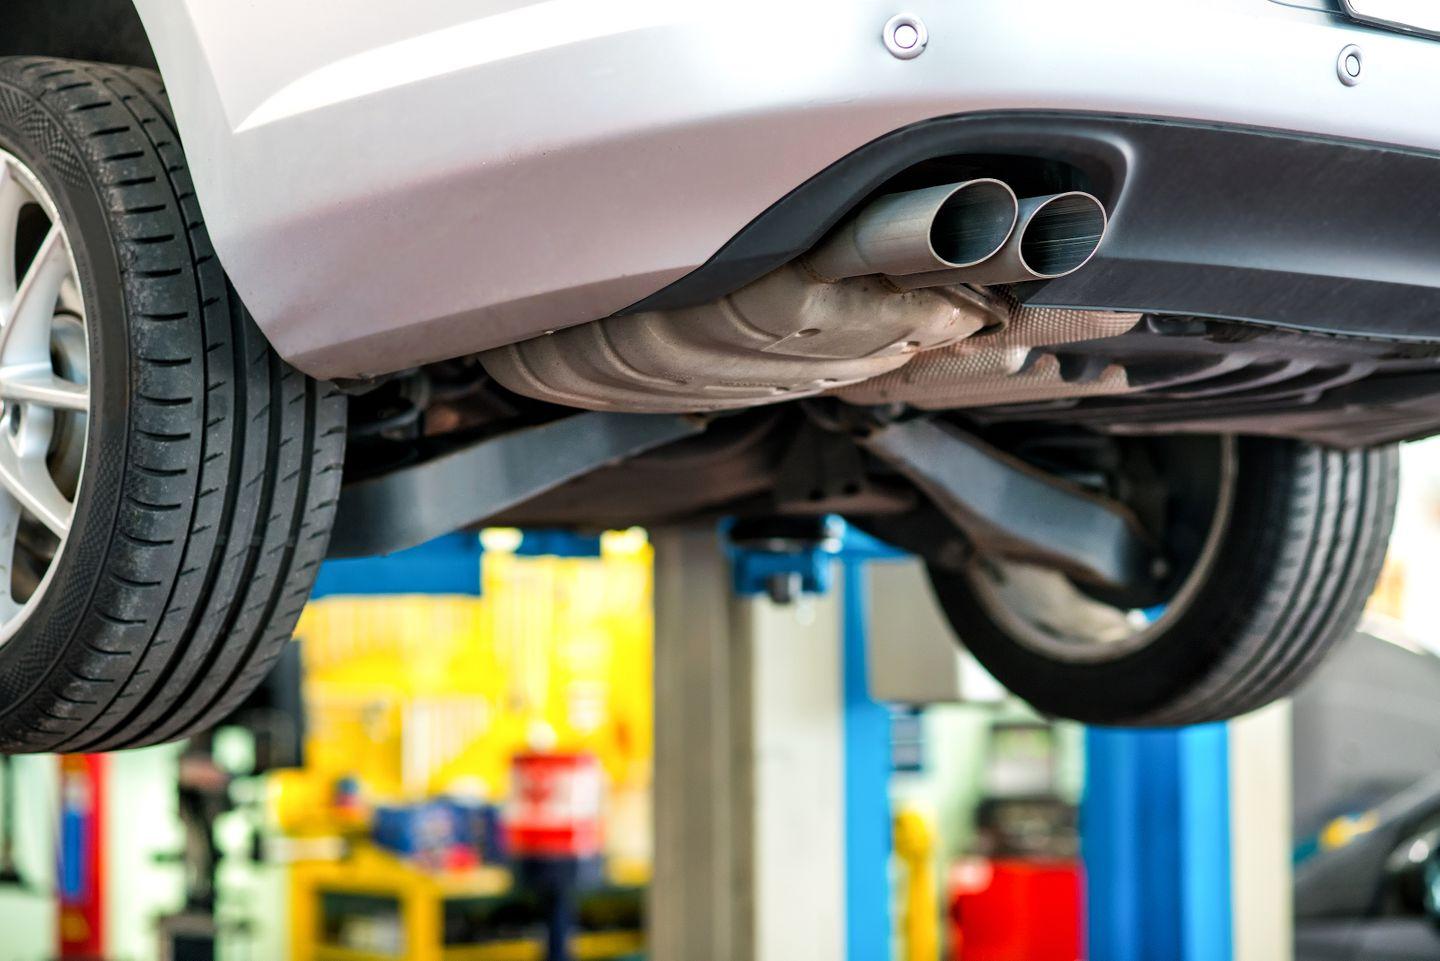
How Much Does it Cost to Get a Car Inspected?
Depending on the market and the thoroughness of the examination, car inspections generally cost between $100–$300, but research the price before bringing your car in. Once there, be sure to ask for a written report of what was examined, any problems that were uncovered, and the estimated cost of fixing them.
Finally, be sure to look for AAA or ASE (Automotive Service Excellence) signs at the garage you’re using, as this ensures the garage meets AAA quality standards, and/or that the mechanics have passed ASE certification tests. It’s even better if you can find a specialist shop that focuses exclusively on the marque or origin of car you’re looking at buying—and the best place to find a shop like this is in your local car enthusiast community.
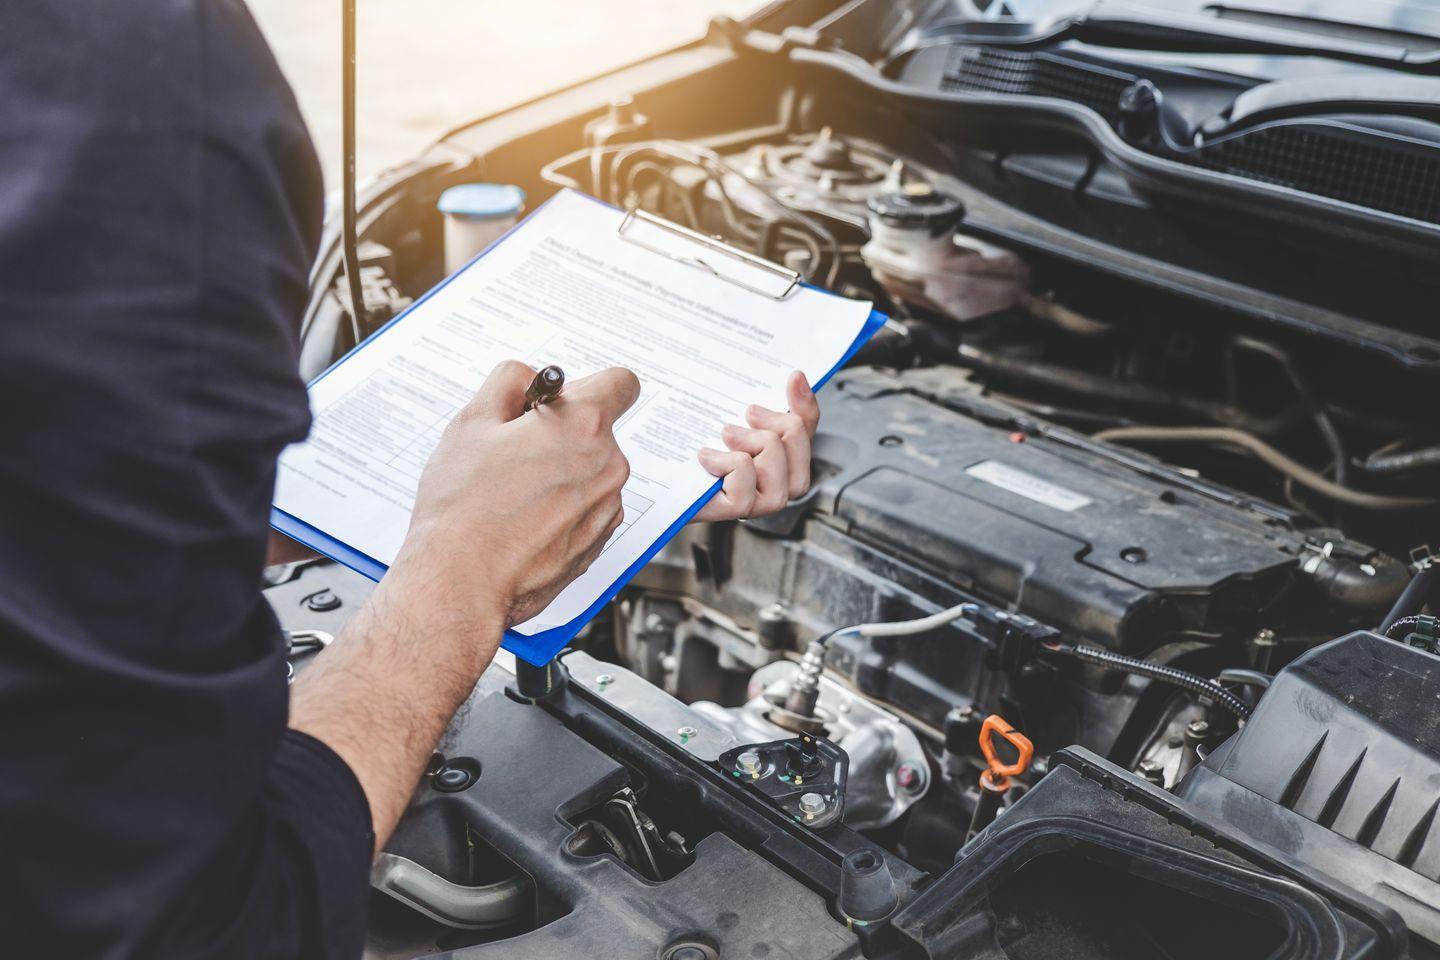
Car Inspection Checklist
Basics and fundamentals aside, you can do a fairly complete car inspection yourself, and you’ll be surprised at what you might discover. If you are going to do it yourself, be sure to dress in clothes you don’t mind getting dirty, and bring a friend along to help out. Also, be sure to grab a flashlight and a magnet; you’ll need them. But this is a not a job that should be rushed; you’ll want to take the time to thoroughly check everything.
Be sure that the car or truck in question is parked in a flat open area in broad daylight. Ask that the vehicle not be driven before you arrive. As for a specific car inspection checklist, things can very heavily by vehicle if you’re looking at something in the collector or enthusiast realm. Our general car inspection checklist follows, but for the specifics of the model you’re after, start browsing the online forums and immerse yourself in the community.

On The Outside
Okay, take off your Ray-Bans and start walking around the vehicle. The paint color should look the same from panel to panel. Panels should align correctly, with minimal, even gaps between panels. Uneven gaps could be a sign that the panel was repaired or even replaced—although it could just be poor assembly at the factory (this can depend on the model, and is among the sort of research you’ve probably already done before shopping). If you think a panel was hit and repaired with filler, take out your magnet and apply it to the panel. If it wasn’t fixed, the magnet will stick. Look for paint on rubber trim, such as door seals along with left over tape lines. This indicates a car was repainted, potentially with a poor preparation and masking process.
Look closely at the glass for scratches, chips, cracks, or discoloration. Examine the lights to ensure that the lenses are intact and that they’re not scratched, chipped, or damaged.
Push down firmly on each corner of the car; it should only rebound once if the suspension is in good condition. Look around. Be sure to check the ground underneath the car for signs of leaking coolant, oil, or other fluids.
Open all doors, tailgates, and trunk lids to make sure that the color on the door jamb isn’t noticeably different from the exterior of the car (which signifies a repaint), and that the door isn’t loose or sagging on its hinges. Also check for any signs of rust on the door jambs or on the bottom of the doors.
Speaking of rust, now would be a good time to use that flashlight to check the wheel wells for rust. While you’re down there, take a peek at the underlying chassis for rust and/or damage and dents. On front-wheel-drive cars, check the constant velocity joints, which resemble black rubber bellows. If they’re cracked and leaking, they will need replaced, and that’s not a cheap repair. The same cautionary process goes for other looks. Keep an eye for out wetness or obvious signs something is in need of service.
But wait. You’re not ready to get up yet. It’s time to check the tires.
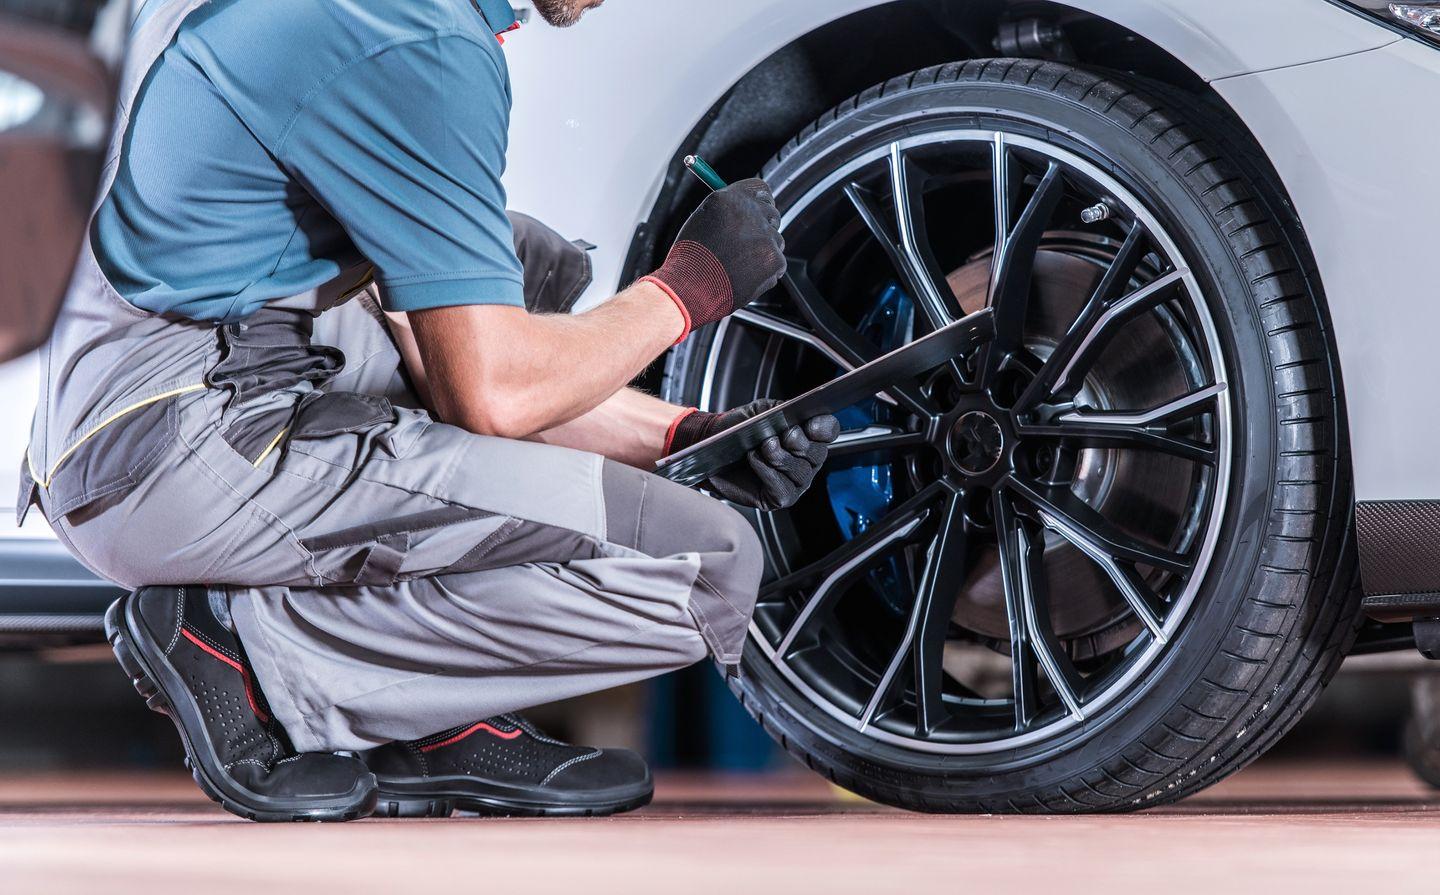
You'll want to check the state of the tread by taking a penny and placing it upside down into several places along the tire's tread. If the top of Abe Lincoln's head is showing, it's time to replace the tire. If you find that the tire is worn on both edges, it’s a sign that the tires have been driven extensively while underinflated. If the tires are worn in the middle but not the edges, they were driven while overinflated.
Also, read the sidewall to see when the tire was manufactured. Every tire since 2000 has a four-digit date code on its sidewall. A tire marked 0519 was made in the fifth week of 2019 and if original to the car, would have been made within a few months of when the car was built. If the tires are new, be sure to ask why, especially if the car isn't that old or shows low mileage, in which case the odometer might have been rolled back. If the tires are more than 10 years old, they should be replaced.
And don’t forget to check the spare tire as well—if the car comes with one. Cars with run-flat tires no longer have spare tires, merely a tire inflation kit. Finally, if the car comes with wheel locks, make sure the kit that unlocks them comes with the car.
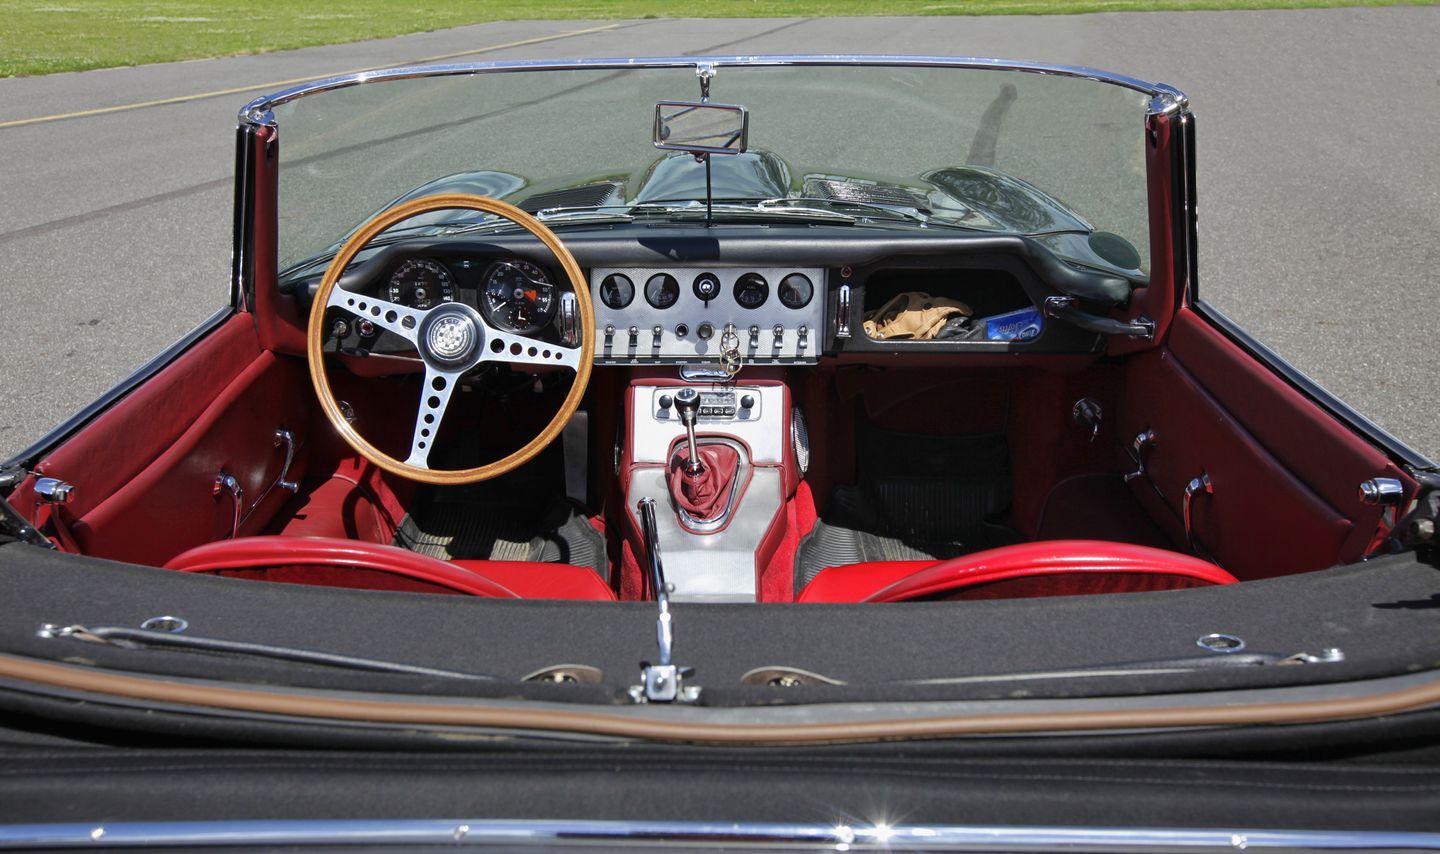
The Inside Story
Now it’s time to get inside, and the first thing you should do (current circumstances permitting) is breathe deeply. Inhale that used car aroma, making sure it doesn’t reek of any foul odors, such as cigarette smoke, wet dogs, skunks, or mold, which would indicate a water leak. Odors can be difficult and costly to get rid of.
Adjust the driver’s seat and make sure it’s comfortable. Do the same for all the seats, making sure they aren’t worn out. Look for any rips or stains. Make sure all safety belts work properly.
Check the driving pedals; they shouldn’t be worn if the car has low mileage. Also, look to make sure the headliner is intact and not sagging.
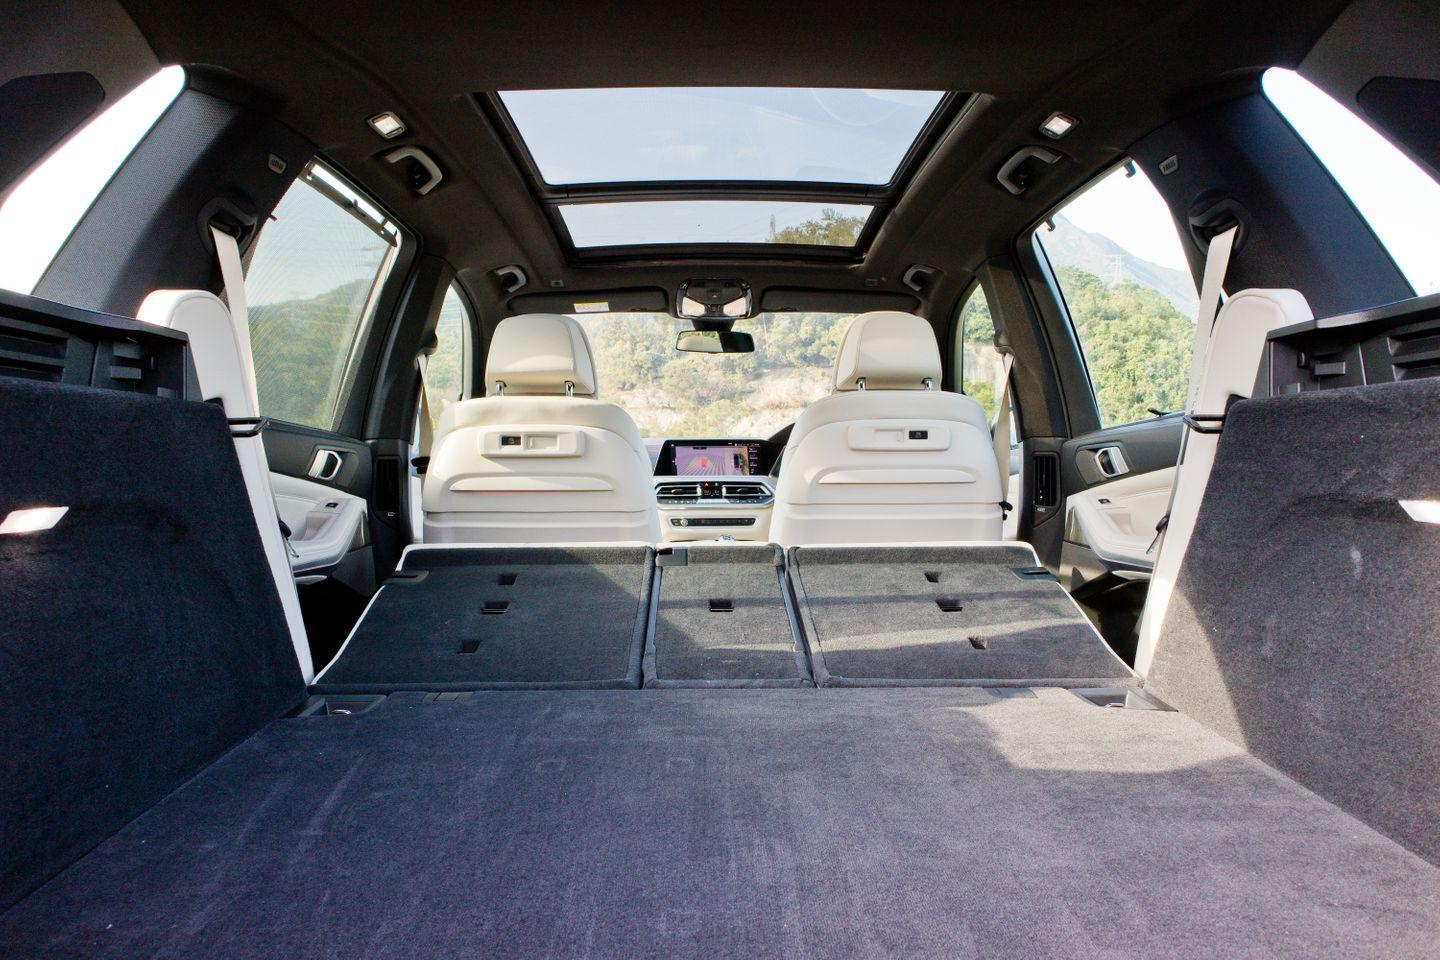
Next, it’s time to touch everything. So turn on the ignition and verify that everything works, including the climate control (fan speeds, heating and air-conditioning), power windows, door locks, side mirrors, sunroofs, along with hood, fuel door, minivan side doors, and trunk/tailgate remote releases. Turn on the audio system and make sure it can receive radio signals clearly and free of static. Insert a cassette or CD and see that it plays properly. Tilt and telescope the steering wheel. Ensure that the clock is accurate. Turn on the windshield wipers and try the washers. On trucks with deployable running boards or adjustable height suspensions, confirm they are functioning. The same is true if your vehicle has a backup camera or power folding side mirrors.
And remember that friend you brought with you? Have them stand outside the car to make that the headlights and bright beams work, as well as rear brake lights, daytime running lights and turn signals.
Also, look in the trunk or underfloor cargo area for any signs of rust by lifting the trunk mat and peering into any corners. Also, inhale deeply for any musty smells that could signify a water leak.
Under the Hood
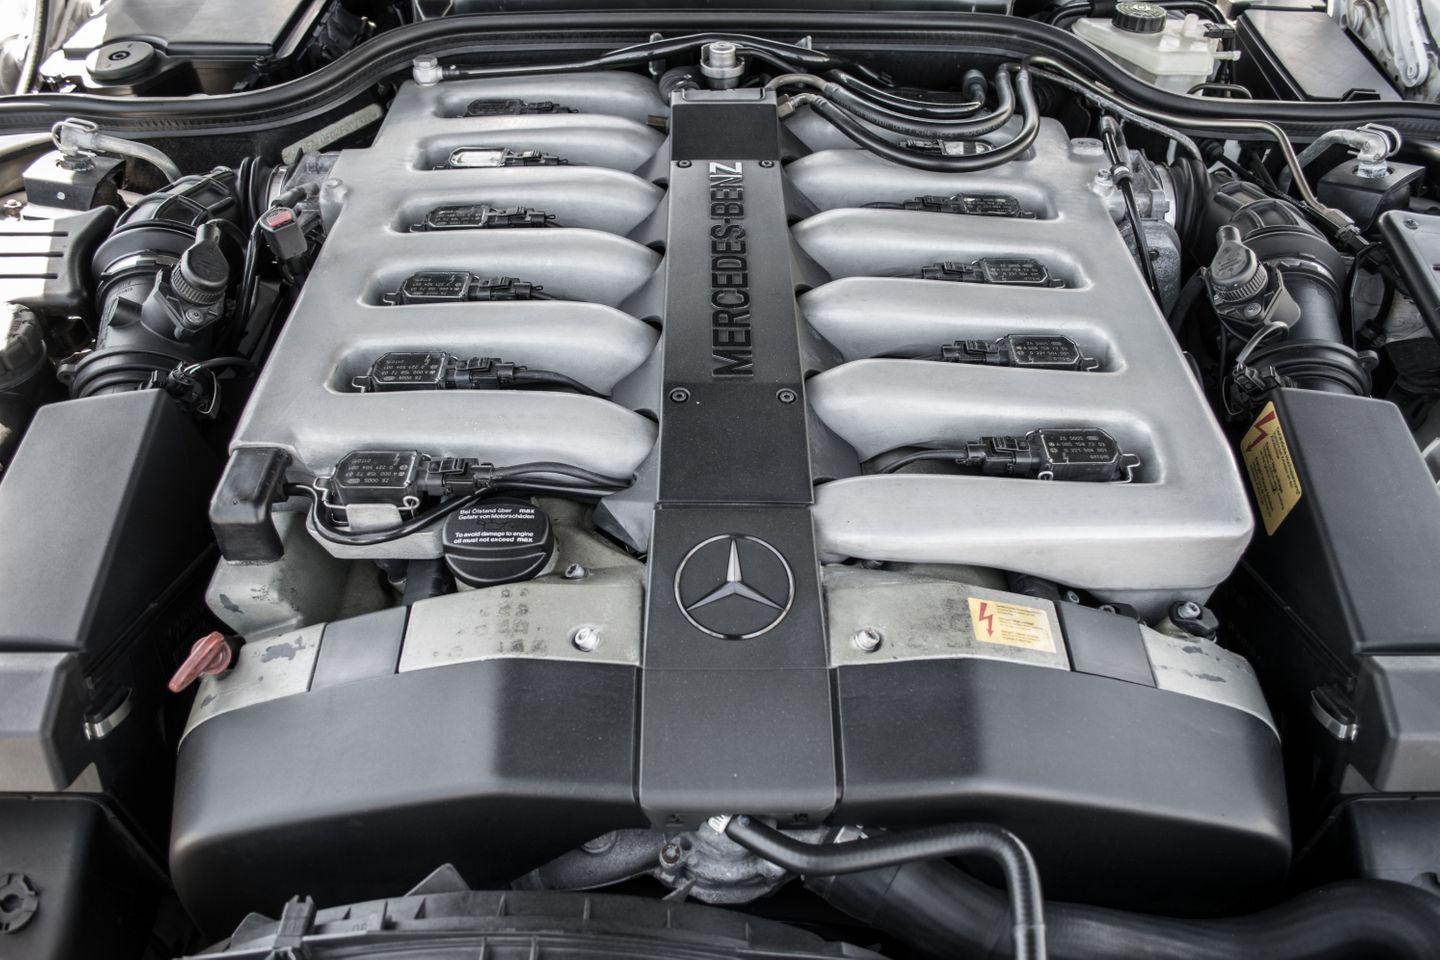
Now it’s time to head up front and check under the hood. Even if you’re not a mechanic, there are still things you can tell about a car’s life from a few simple steps.
Once you lift the hood, you might be surprised to find it’s fairly clean. This isn’t unusual, as sellers will clean the engine bay prior to selling a car or truck. But just as typically, you’ll find the engine to be somewhat dirty. Nevertheless, you should be able to spot any leaks, loose wires, or battery corrosion. Belts, hoses and any rubber bits should feel firm, yet supple. Belts should not be loose or tattered. The radiator should be in good condition, without any leaking green or rusty-colored fluid. Make sure there’s coolant in the radiator’s overflow tank.
Next, check the engine oil. If it was just changed, it will be honey-colored. More typically, it will be dark brown or black, not gray or foamy, which signify significant engine problems. Transmission fluid should be pink, and should not smell burnt or have particles in it. Verify that steering and brake fluid levels are sufficient.
Of course, the best way to ensure the vehicle’s under-hood health is to take it to a certified mechanic, but it’s good to go in with a firsthand look yourself.

What’s next?
Now, it’s time for a test drive—but that’s another story.
